Call us
A picture rail is a decorative and functional moulding traditionally used to hang artwork without damaging walls. Beyond its practical purpose, a picture rail adds architectural character to a space, making it a popular feature in both period and modern homes. However, a key question homeowners face is: where should a picture rail sit on the wall?
A picture rail is traditionally placed 30–50cm below the ceiling in period homes for proportion and elegance. In modern interiors, it often sits two-thirds up the wall for a contemporary look. Placement depends on ceiling height, room proportions, and functionality, enhancing both aesthetics and practicality.
The ideal picture rail height depends on various factors, including ceiling height, room proportions, and interior style. This guide will cover traditional and modern positioning techniques, practical installation tips, and how to style picture rails for an elegant interior.
A picture rail is a horizontal moulding fixed to the upper section of a wall, allowing pictures to be hung using hooks and cords rather than nails or screws. This feature was commonly found in Victorian, Edwardian, and Georgian homes, where walls were often made of plaster and easily damaged.
Unlike a dado rail, which sits lower on the wall to protect it from chair backs, a picture rail is positioned closer to the ceiling, serving a more aesthetic and functional role.
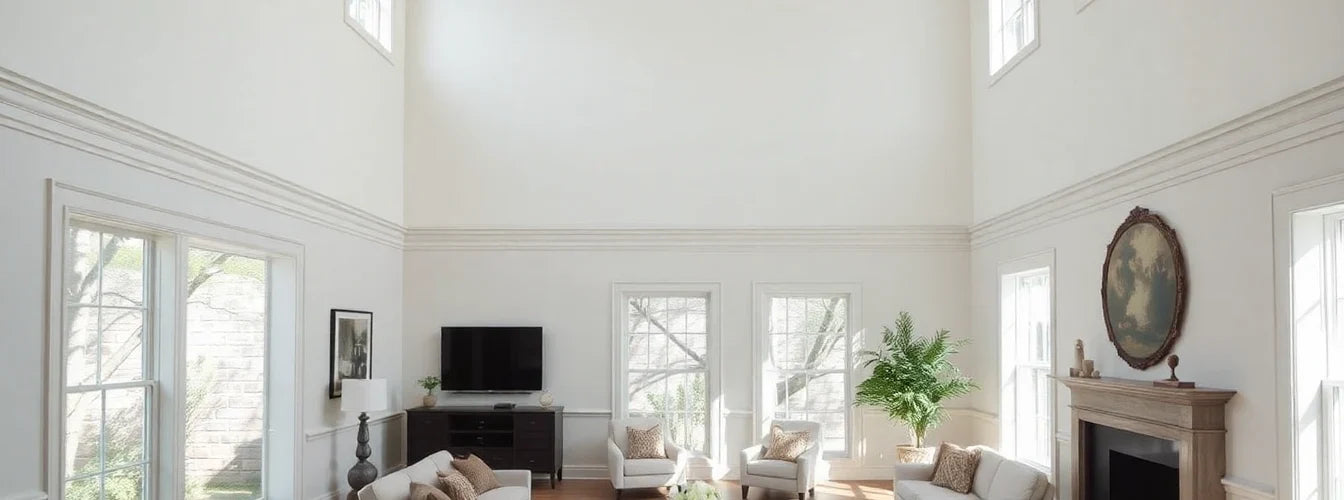
Historically, picture rails were positioned between 30–50cm (12–20 inches) below the ceiling. This placement was common in homes with high ceilings (3m/10ft or more), ensuring balance and proportion within the room.
In Victorian and Edwardian homes, a high picture rail complemented ornate cornices and tall skirting boards, enhancing the vertical elegance of a space. It also created a natural break for different paint colours or wallpaper styles.
For homes with standard ceiling heights (2.4m–2.7m / 8ft–9ft), picture rails are often positioned lower than traditional settings, typically at two-thirds of the wall height. This creates a more grounded and contemporary aesthetic while still maintaining visual interest.
Some modern designers even place picture rails at eye level (around 1.5m / 5ft) to function as a display ledge for framed artwork, offering flexibility in styling.
High ceilings (3m+/10ft+) – A higher picture rail (30–50cm from the ceiling) maintains classic proportions.
Standard ceilings (2.4m–2.7m/8ft–9ft) – A lower picture rail (two-thirds up the wall) balances the space.
Low ceilings (below 2.4m/8ft) – A mid-wall placement can help make ceilings appear taller.
Aligning the picture rail with door architraves and window frames can create a harmonious flow.
Consider the height of skirting boards, dado rails, and coving for a cohesive interior.
If the picture rail is used for hanging artwork, ensure it is high enough to allow for adjustable cords and hooks.
If purely decorative, position it at a height that enhances the wall’s visual interest.
Tape measure & spirit level
Pencil for marking
Mitre saw (for angled corners)
Strong adhesive or nails
Sandpaper & paint (for finishing touches)
Mark the Wall: Use a tape measure and spirit level to mark the chosen height around the room.
Cut the Picture Rail: Measure each section, ensuring mitred corners for a seamless fit.
Fix in Place: Secure the rail using nails or adhesive, ensuring it is flush with the wall.
Finishing Touches: Sand any rough edges and paint to match or contrast with the walls.
Positioning Too Low: Can make the room feel cramped or unbalanced.
Inconsistent Alignment: Ensure it lines up with door frames for a polished look.
Weak Fixings: Use sturdy fasteners to prevent sagging over time.
Use the picture rail as a natural divider between two complementary paint colours.
Darker shades below the rail help ground the space, while lighter tones above create an airy feel.
Combine picture rails with skirting boards, dado rails, and coving for a cohesive design.
Opt for a matching paint finish for a seamless look or contrast for bold definition.
Hanging plants – Attach small hooks for a natural, cascading effect.
Display shelves – Place a narrow ledge above the rail for small decorative items.
LED lighting integration – Install subtle backlighting for an elegant glow.
Despite being a traditional feature, picture rails remain popular today due to their practical and aesthetic benefits:
Wall Protection – Eliminates the need for nails, preserving plasterwork.
Elegant Design Element – Adds depth and architectural detail to a room.
Versatile Applications – Adaptable for traditional and contemporary interiors.
Customisation – Available in wood, MDF, and decorative moulding styles to suit different aesthetics.
Choosing the right picture rail height is key to enhancing both the functionality and aesthetics of a space. While traditional homes benefit from high-mounted picture rails, modern interiors can experiment with lower placements for a contemporary feel.
For high-quality picture rails, skirting boards, architraves, and mouldings explore MR Mouldings. With a range of traditional and modern designs, you’ll find the perfect match for your home.
Need expert advice on interior mouldings? Visit MR Mouldings today for a wide selection of premium products!