Call us
Painting architrave might seem like a straightforward task, but achieving a smooth, professional finish requires careful preparation and attention to detail. Whether you’re refreshing old woodwork or adding the finishing touches to a renovation, knowing the right techniques can make all the difference. Did you know that a well-painted architrave can significantly enhance the overall appearance of your space? In this guide, we’ll walk you through the entire process, from prepping the surface to applying the perfect final coat. Let’s dive in and transform your room’s look with beautifully painted architrave!
An architrave is a moulding that frames doors, windows, and other openings in your home. It serves both a functional and decorative purpose, concealing the gap between the wall and the frame while adding a refined finish to your interior design.
Types of Architrave: Materials and Styles
Architraves come in various materials and styles, each offering unique benefits:
Why a Well-Painted Architrave Enhances the Room's Aesthetic
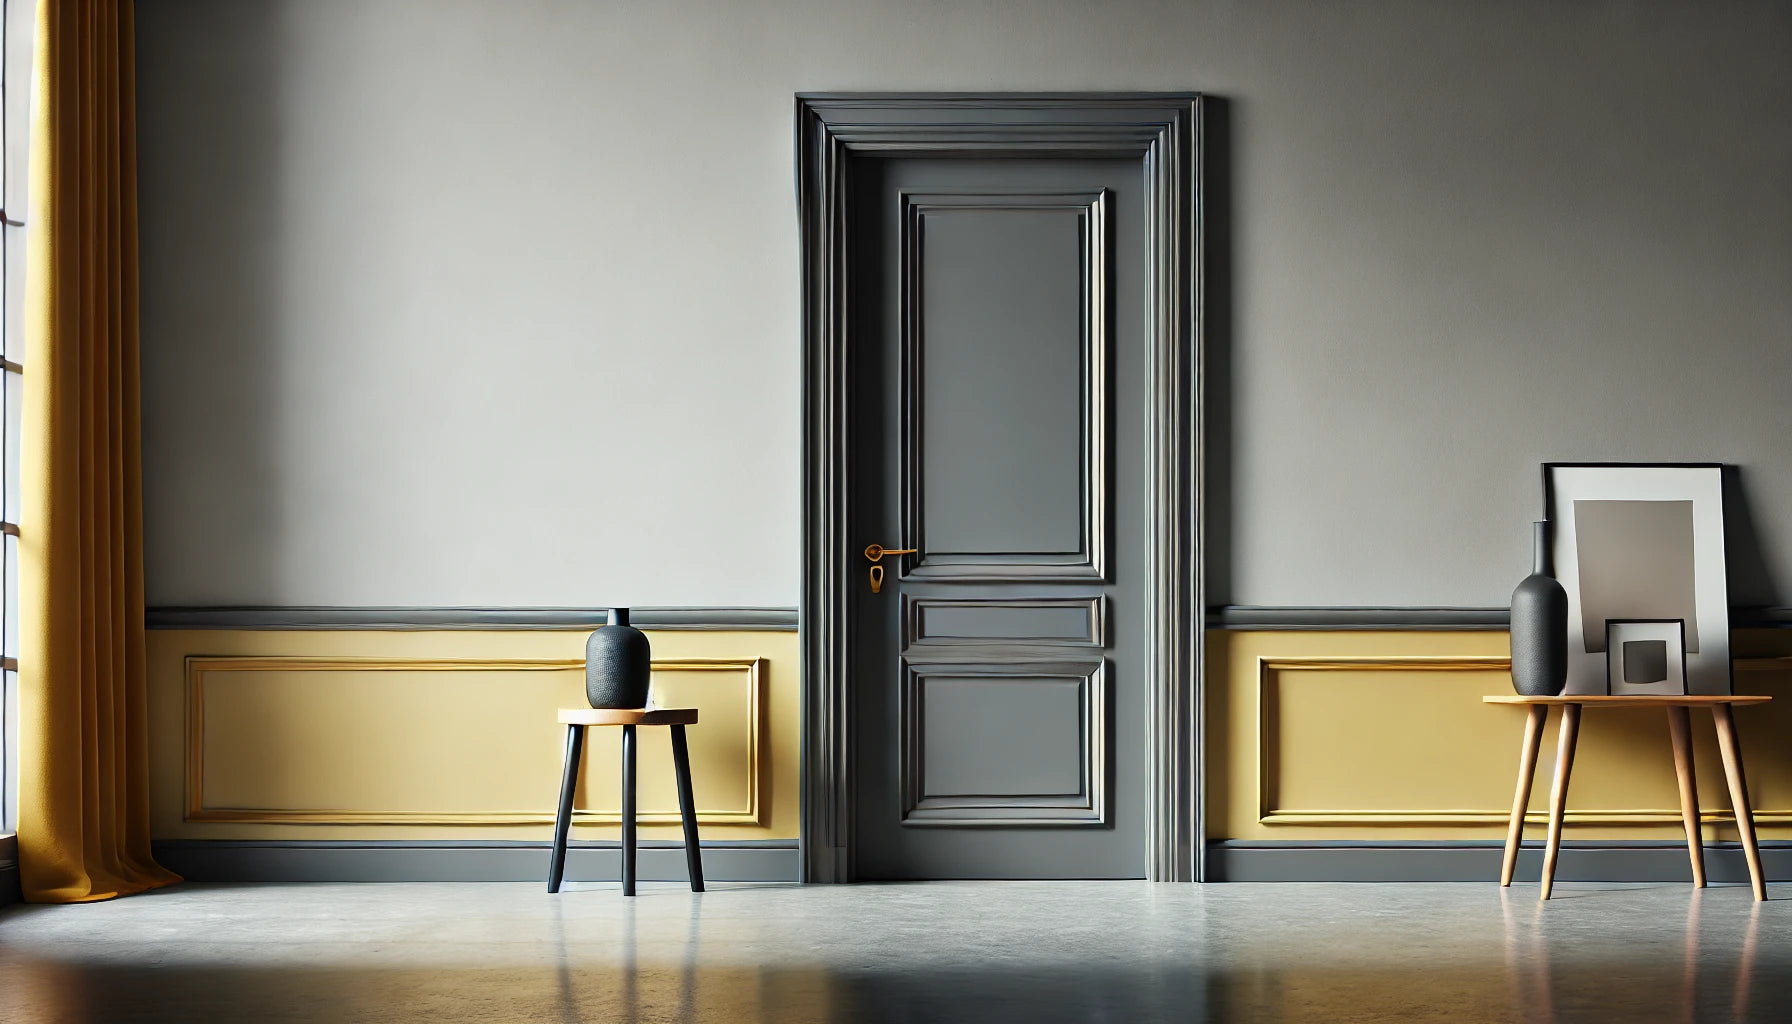
A well-painted architrave not only improves the visual appeal of your room but also highlights the architectural features of your space. It creates a polished, cohesive look that ties the entire room together. Conversely, poorly painted architrave can detract from the overall aesthetic, drawing attention to imperfections rather than enhancing the design.
Common Mistakes to Avoid When Painting Architrave
One common mistake is neglecting the preparation phase. Skipping steps like sanding or applying primer can result in a rough, uneven finish. Another pitfall is using the wrong type of paint, which can lead to unsatisfactory results or the need for frequent touch-ups.
An architrave can be painted before or after installation - personally we would recommend painting it once you have installed the architrave. This way you won't damage your work during the installation
To achieve a professional finish, it’s essential to gather the right tools and materials before starting your project.
Essential Tools
Types of Paint Suitable for Architrave
Optional Tools for a Professional Finish
Preparation is the foundation of a flawless finish. Taking the time to properly prepare your wooden architrave will make the painting process smoother and more successful.
Cleaning the Architrave: Removing Dust and Grime
Start by thoroughly cleaning the architrave to remove any dust, dirt, or grease that could interfere with paint adhesion. A damp cloth with mild detergent should suffice for most surfaces. Make sure the architrave is completely dry before moving on to the next step.
Sanding Techniques for a Smooth Surface
Sanding is crucial for creating a smooth base for the paint. Use medium-grit sandpaper to remove any old paint or rough patches, then finish with fine-grit sandpaper for a smoother surface. Sanding also helps the primer and paint adhere better to the architrave.
Filling Gaps and Imperfections: How to Use Wood Filler
Inspect the architrave for any gaps, cracks, or imperfections. Use a wood filler to address these issues, applying it with a putty knife. Once the filler is dry, sand the area until it’s flush with the surrounding surface.
Applying Primer: Tips for an Even Base
Priming is essential, especially if you’re painting over bare wood or a darker colour. Apply a coat of primer evenly across the architrave, using smooth, even strokes. Allow the primer to dry completely before moving on to painting.
With the preparation complete, it’s time to start painting. Following these steps will help you achieve a professional finish.
Masking Off Adjacent Areas to Protect Walls and Floors
Use masking tape to protect the surrounding walls, floors, and any other surfaces you don’t want to paint. This step is especially important for achieving clean lines and avoiding accidental splatters.
Choosing the Right Paintbrush and Painting Technique
Select a small, angled brush for detailed work around the edges of the architrave. Begin by cutting in—painting the edges carefully before filling in the larger sections. Use long, even strokes to apply the paint, working in the direction of the wood grain for a smooth finish.
How to Apply the First Coat: Tips for Even Coverage
Apply the first coat of paint using a light, even hand. It’s better to apply multiple thin coats rather than one thick coat, which can lead to drips and an uneven finish. Allow the first coat to dry thoroughly before applying additional coats.
Drying Times and When to Apply Additional Coats
Drying times can vary depending on the type of paint used. Generally, water-based paints dry faster, often within a few hours, while oil-based paints may take longer. It’s crucial to follow the manufacturer’s instructions regarding drying times to ensure each coat cures properly before applying the next.
Finishing Touches: Smoothing Edges and Correcting Minor Flaws
After the final coat has dried, inspect the architrave for any imperfections, such as brush marks or uneven edges. Lightly sand these areas with fine-grit sandpaper and touch up with paint as needed. Remove the masking tape carefully to reveal clean, sharp lines.
Even with careful preparation, challenges can arise during the painting process. Here’s how to tackle some of the most common issues.
Avoiding Brush Marks: Tips for a Flawless Finish
To avoid brush marks, ensure you’re not overloading the brush with paint. Use smooth, even strokes and maintain a wet edge by working quickly along the length of the architrave. A high-quality brush also makes a significant difference in reducing visible brush marks.
Dealing with Uneven Surfaces or Intricate Details
If your architrave has intricate details or uneven surfaces, take your time and use a smaller brush for precision. Sanding and priming these areas thoroughly before painting can help achieve a more even finish.
How to Fix Drips, Runs, and Other Common Issues
If you notice drips or runs while the paint is still wet, gently smooth them out with your brush. For dried drips, lightly sand the area and apply a thin coat of paint to blend it in. If the paint appears streaky, consider applying an additional coat for a more uniform look.
Tips for Painting Architrave in High-Traffic Areas
In high-traffic areas, durability is key. Consider using a tougher, more resilient paint, such as oil-based or a high-quality water-based enamel. These paints are more resistant to scuffs and knocks, ensuring your architrave looks great for longer.
Once your architrave is beautifully painted, proper maintenance will help keep it looking its best.
How to Clean and Maintain Painted Architrave
Regularly dust your architrave to prevent dirt build-up. For more thorough cleaning, use a soft cloth dampened with water or a mild cleaner. Avoid abrasive cleaners that could damage the paint finish.
Touching Up Chips and Scratches Over Time
Minor chips and scratches are inevitable, especially in busy households. Touch up these areas with the original paint, using a small brush for precision. Lightly sand the area beforehand to ensure the new paint blends seamlessly with the old.
When to Repaint and How to Refresh the Look
Over time, even the best paint job will show signs of wear. If your architrave starts to look dull or damaged, it might be time to repaint. Follow the same steps outlined in this guide, focusing on thorough preparation to ensure a fresh, flawless finish.
Painting architrave may seem like a small detail, but it can dramatically impact the overall look of a room. By following the steps outlined in this guide, you’ll be well on your way to achieving a professional finish that will last for years to come. Remember, the key is in the preparation and the application, so take your time and enjoy the process. Ready to get started? Grab your tools and transform your space with beautifully painted architrave today!