Call us
Looking to add character and elegance to your home without a full renovation? A dado rail could be the perfect solution. Simple to install, versatile in style, and suited to almost any room, dado rails offer both decorative appeal and practical wall protection.
To fit a dado rail, measure and mark the desired height (typically around 900mm), cut the rail to size with mitre joints, apply grab adhesive, fix it to the wall, then fill, sand and paint. Dado rails add decorative detail and protect walls, a simple upgrade with a big impact.
In this guide, the experts at MR Mouldings, leading UK suppliers of bespoke MDF dado rails, walk you through everything you need to know to fit a dado rail, from choosing the right height to cutting, fixing, and finishing like a pro.
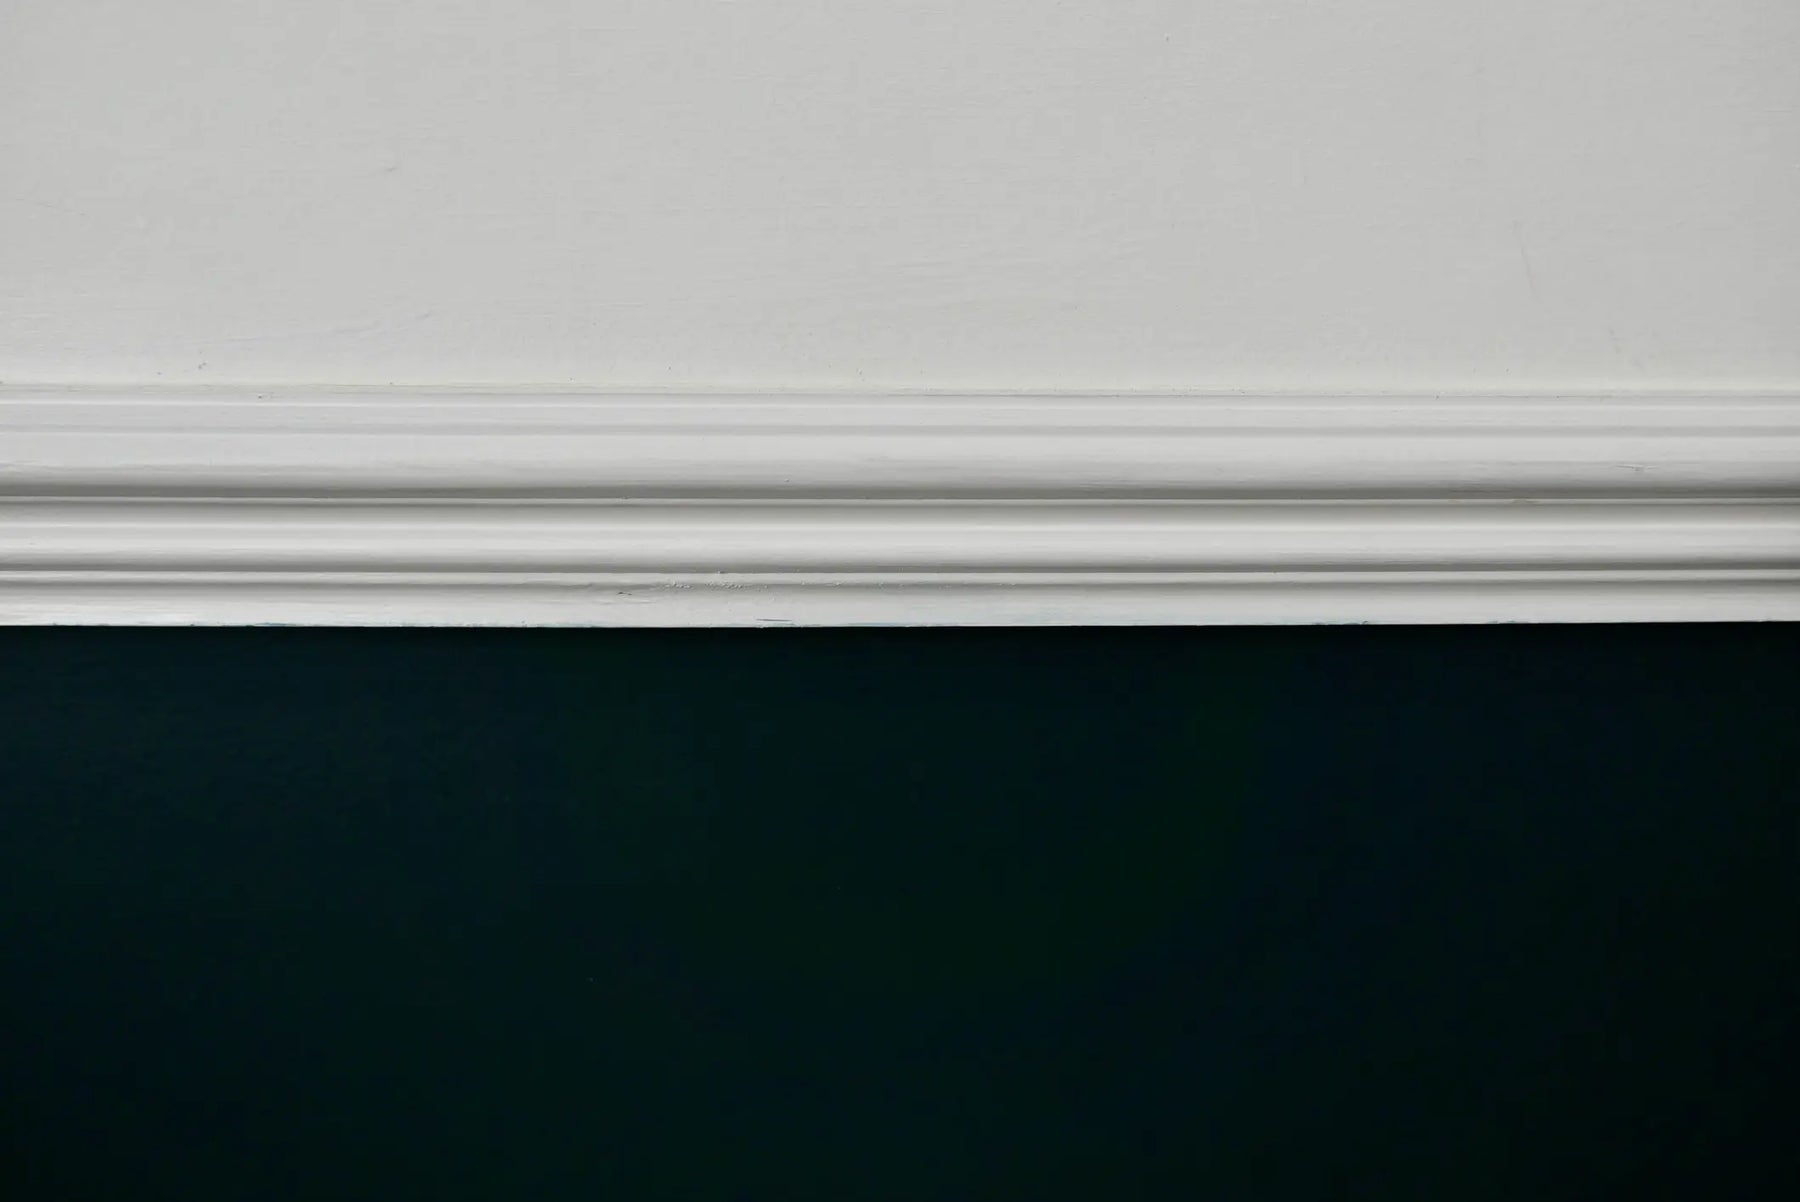
A dado rail is a horizontal moulding that runs along the wall, typically between 600mm and 1000mm from the floor. Originally used to protect plaster walls from chair backs and scuffs, dado rails have since become a popular decorative feature in both period properties and modern interiors.
Used on their own or as part of a panelled wall design, dado rails break up plain walls, define colour-blocked paintwork, and add a timeless, architectural feel to any space.
There’s no one-size-fits-all rule, but a common guideline is to place the rail one-third of the way up the wall. In most UK homes, this means around 900mm from the floor, but you can adjust this based on ceiling height, room proportions, or design intent.
Ceiling height: Taller rooms can handle higher dado rails
Function: Lower heights help protect walls in dining areas or hallways
Visual impact: Use to divide painted sections or panelling for classic contrast
Personal preference: Always test different heights using masking tape to visualise the effect
With bespoke sizing from MR Mouldings, you can tailor the profile and length to match your vision perfectly.
Before you begin, gather the following:
Dado rail (pre-cut or to cut on-site)
Tape measure
Spirit level or laser level
Pencil
Mitre saw or mitre box
Grab adhesive
Panel pins or nails (optional for extra fixing)
Caulk or filler
Sandpaper
Paint or wood finish
Optional: wall plugs and screws for heavy-duty applications
Use a tape measure to mark the desired height on each wall
Use a spirit level or laser to draw a straight line around the room
Mark corners and plan for mitre cuts if needed
Tip: For a cohesive look, ensure the dado runs at the same height across all walls, especially around doorways and windows.
Measure each wall and cut the dado rail to size
For internal and external corners, use a mitre saw to make angled cuts for a flush fit
Dry fit the pieces before applying adhesive to ensure the joins are neat and aligned
Apply a generous line of grab adhesive along the back of the rail
Press it firmly against the wall, using your marked line as a guide
For extra hold, especially on uneven walls, use panel pins or small nails to secure
Remove any excess adhesive before it dries
For heavy or hardwood dado rails, you may wish to use screws and wall plugs for added support.
Once the adhesive is dry, use filler or caulk to fill in any gaps, nail holes, or corner joins
Allow to dry fully, then sand lightly for a smooth finish
Paint or finish the dado rail to match your desired scheme, either before or after fitting, depending on your method
Should you paint before or after fitting?
If you're confident with placement and want a clean finish, pre-painting can be easier. If you're caulking and sanding joints, it's often better to paint afterwards for a seamless result.
Not all dado rails are created equal. The right choice will depend on your interior style, wall height, and design preferences.
Profile style – Square edge for modern spaces, ogee or chamfered for classic looks
Depth and projection – Deeper profiles create a more dramatic effect
Room function – In high-traffic or utility spaces, moisture-resistant MDF is a smart option
Finish – Paint-ready MDF is ideal for most interiors and can be customised to suit your scheme
At MR Mouldings, we supply a wide selection of bespoke MDF dado rails, all available primed and ready to paint, with traditional and modern profiles to suit any home.
As one of the UK’s leading moulding suppliers, MR Mouldings offers everything you need to create beautiful, lasting interiors.
We provide:
Bespoke MDF dado rails made to your exact requirements
A wide choice of profiles, from traditional to minimalist
Moisture-resistant options for kitchens, bathrooms, and high-traffic areas
Free samples to help you choose the perfect finish
Expert advice and friendly support for homeowners and trade professionals
Fast UK-wide delivery and consistent, high-quality craftsmanship
Whether you’re renovating a single room or fitting out a full property, our team is here to help you get it right, first time.
Installing a dado rail is one of the simplest ways to add architectural detail and timeless charm to your home. It breaks up plain walls, enhances paintwork, and brings instant polish to traditional and modern interiors alike.
With the right tools, a bit of planning, and expert-supplied mouldings from MR Mouldings, it’s a project that’s more than achievable.
Explore our full range of dado rails today, or get in touch for expert advice, made-to-measure profiles, and free samples to get your project started.