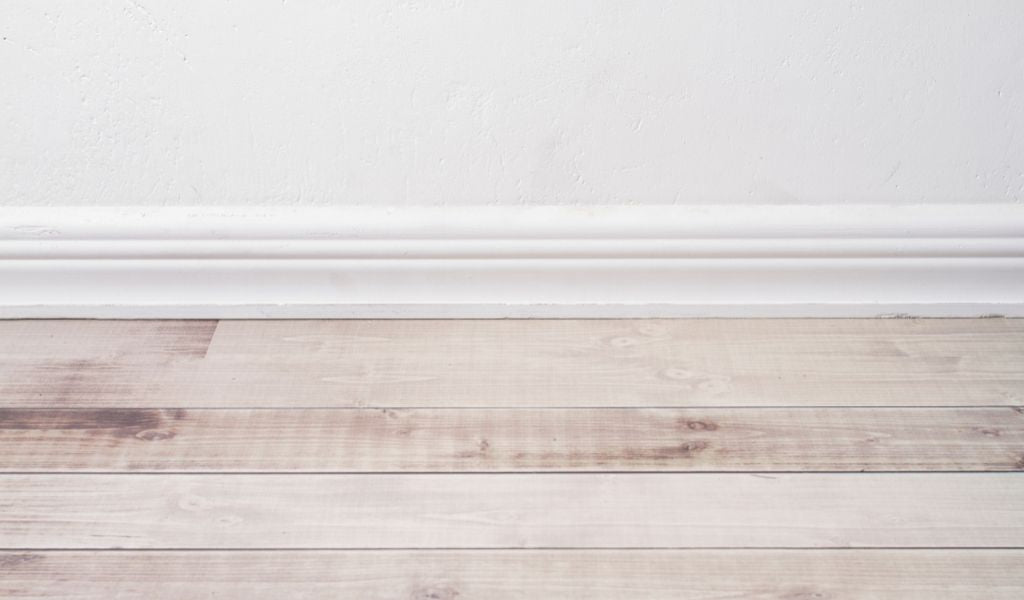
A Guide to Joining Skirting Boards on a Flat Wall
As a homeowner, one of the most crucial aspects of creating a polished and cohesive interior design is ensuring that your skirting boards are seamlessly joined. Whether you're renovating an existing space or starting from scratch, the way you connect your skirting boards can make a significant difference in the overall aesthetic of a room. At MR Mouldings, we understand the importance of this detail and are here to provide you with a comprehensive guide on how to achieve a flawless finish when joining skirting boards on a flat wall.
Preparing the Wall
Before you begin the process of joining your skirting boards, it's essential to ensure that the wall surface is clean, dry, and free of any imperfections. This will help to create a smooth foundation for your skirting boards and prevent any gaps or unevenness from occurring.
Start by thoroughly cleaning the wall, removing any dust, dirt, or debris that may have accumulated. If there are any cracks or holes in the wall, be sure to fill them in with a suitable filler and allow it to dry completely before proceeding.
Once the wall is prepped, it's time to measure the length of the skirting boards you'll need. Measure the length of the wall and add a few extra inches on each end to account for any corners or angles. This will ensure that your skirting boards fit snugly and seamlessly against the wall.
Cutting the Skirting Boards
When it comes to cutting your skirting boards, precision is key. You'll want to use a sharp saw, such as a miter saw or a hand saw, to ensure clean, straight cuts. If you're working with multiple pieces of skirting board, it's a good idea to mark the cutting lines with a pencil to help guide your saw.
If you're joining skirting on a flat wall, you'll typically want to use a butt joint. This involves cutting the ends of the skirting boards at a 90-degree angle, so that they fit together flush against the wall.
To create a butt joint, measure the length of the wall and mark the cutting lines on your skirting boards. Make sure to measure and cut each piece individually, as walls can often be uneven, and you'll want to ensure a tight, seamless fit.
Joining the Skirting Boards
Once you've cut your skirting boards to size, it's time to join them together. There are a few different methods you can use to achieve a seamless connection:
Using Wood Glue
One of the most common and effective ways to join skirting boards is by using wood glue. Apply a generous amount of wood glue to the ends of the skirting boards, and then press them firmly together against the wall. Hold the boards in place for a few minutes to allow the glue to set.
Using Skirting Board Connectors
Another option is to use skirting board connectors, which are small metal or plastic pieces that fit into the grooves of the skirting boards to hold them together. Simply slide the connectors into the ends of the skirting boards and press them firmly into place.
Using Caulk
If you want to create an even smoother, more seamless finish, you can use caulk to fill any gaps or cracks between the joined skirting boards. Apply a bead of caulk along the seam, smoothing it out with a putty knife or your finger to create a clean, uniform appearance.
Regardless of the method you choose, it's important to ensure that the skirting boards are firmly in place and that there are no gaps or unevenness along the seam. If necessary, you can use clamps or weights to hold the boards in place while the glue or caulk dries.
Finishing Touches
Once your skirting boards are joined, you can add the final touches to create a polished, professional-looking result. This may include:
- Painting or staining the skirting boards to match your decor
- Caulking any gaps or cracks between the skirting boards and the wall
- Applying a clear sealant to protect the finish
- Trimming any excess skirting board material with a sharp utility knife
By taking the time to properly prepare, cut, and join your skirting boards, you can create a seamless, visually appealing transition between your walls and floors. At MR Mouldings, we're committed to providing our customers with high-quality, durable skirting boards and the expertise to help you achieve the perfect finish in your home.
So, whether you're a seasoned DIYer or a first-time homeowner, we hope this guide has given you the confidence and knowledge you need to tackle your skirting board installation project with ease. Happy decorating!


